Owl Treat Bag
Make an Owl treat bag and topper for Halloween!
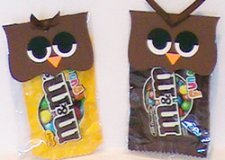
Make an owl treat bag and topper for Halloween! This topper was created with a simple topnote and shapes and a little ribbon. I have made both the SVG file for those who have a die cut machine such as the Cricut, and I have also made a PDF for those of you who would like to use scissors. Trick or treat!
What you will need:
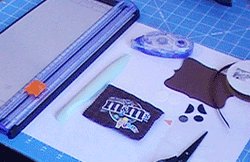
Scoring tool
Bone folder
Scissors
Adhesive
Stapler
Celo or baggie
M & M's : The fun size
Ribbon
For more Owl Treat Bag or Halloween projects click here Watch The Video Below:
Owl Treat Bag step-by-step instructions:
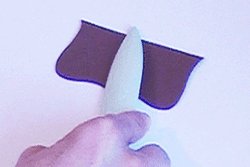
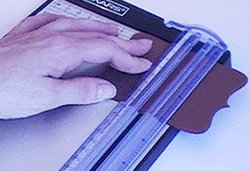
1. The first thing you will need to do is download the PDF. This pdf will give you the shapes for this project. For example: You may not have the topnote shape.2. Take the topnote shape and score it down the middle using the smaller points as your guide. Then fold and use your bone folder to get a good crease. Make it a good crease because your cello bag is going to line up to this crease later.
3. The larger two white circles are used for the whites of the owls eyes. Put adhesive on the backs of bothe of them and put them on the middle to upper part of the topnote. But, not all the way up tp the crease.
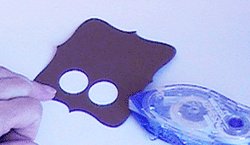
4. Add adhesive to the backs of the smaller black circles and place them in the middle of the white circles.
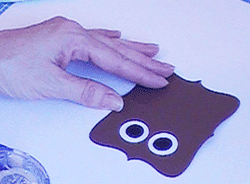
5. Add the half circles for the eye lids. The lower you put them the sleepier the owl will look. You will find that you can give your owl many different looks by adjusting the tilt of the eye lids.
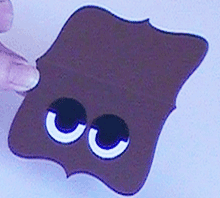
6. Add the little triangle (make it orange) for the nose. Put the corners of the triangle snug up against the edges of the white circles.
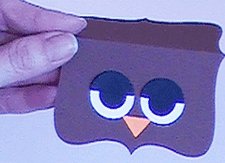
7. Put adhesive just below the fold line all the way across on the inside lower section. Put candy in the bag and line it up on to the adhesive.
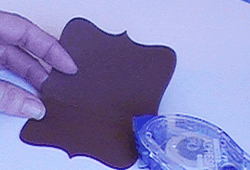
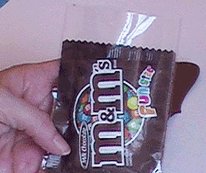
8. Fold top down over your candy filled bag and use a stapler. The staple is to hold the bag in place.
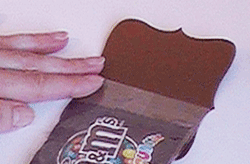
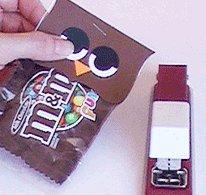
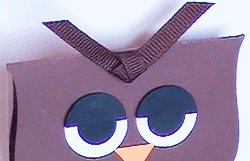
9 Take your ribbon and tie a knot and use one small glue dot to attach the knot to the staple.
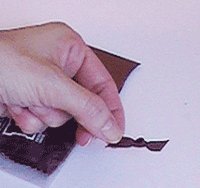
10. Trim off the excess ribbon and... You have a Halloween Owl Treat Bag!
I made a girl and a boy based on how long I left the ribbon.
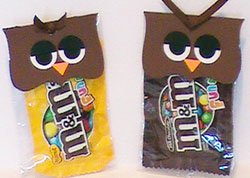
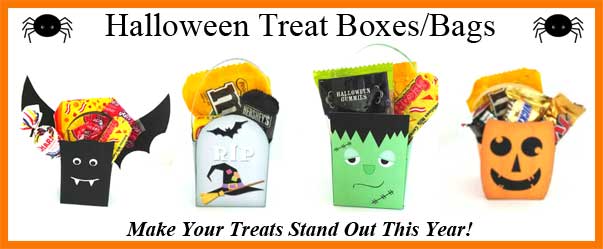
Check out these new Halloween Treat Bags!




New! Comments
Have your say about what you just read! Leave me a comment in the box below.