Custom Post It Notepad
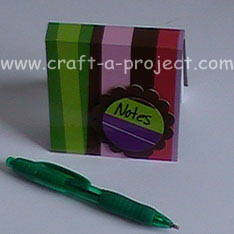
You can make this great little custom post it notepad in no time flat- and I don't know anyone who wouldn't just love it! After you make your notepad holder, try and come up with other color combinations and use them as teachers gifts.
Custom Post It Notepad Supplies:
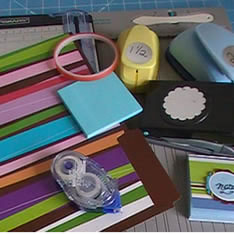
- Colorful folder or sturdy card stock
- Post it notepad
- Scoring tool
- Cutting tool
- Adhesive (strong)
- Scalloped circle punch
- Circle punch
- Dimensional pop dots
Step 1:
Cut your colorful folder or sturdy card stock to 3 x 6 1/5 inches. I used a folder with a colorful outside and brown on the inside. I like this because I can u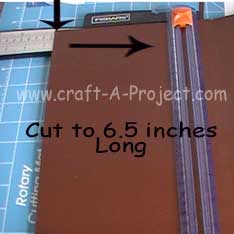 se the left over's for the tag as well. The turn your paper around and cut it to 3 inches. So, you will have a piece of card that measures 3 x 6 1/2
Step 2:
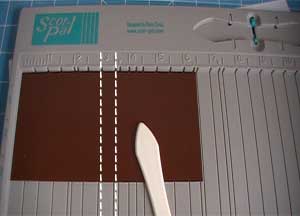
Score your card on the three inch mark and the 3 1/2 inch mark.
Fold and crease on the score lines.
Step 3:
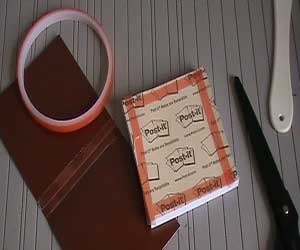
Apply adhesive to between the score lines and on the back of your post it notes.
Step 4
Peel off the adhesive and place the binding part of the post it notes between the score lines and then stick down the body of the pad. This completes the cover and the note pad... let's move on to the outside decoration.
Step 5:
Punch out a scalloped circle from the remainder of your folder.
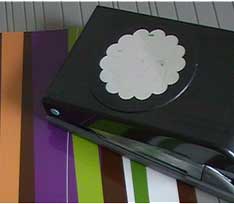
Then punch out a (1 1/2 in.) circle out of the same folder if it has two different colors, if not find a matching color of your choice.
Step 6:
Then punch out a (1 1/2 in.) circle out of the same folder if it has two different colors, if not find a matching color of your choice.

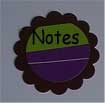
Then write the words "Notes" one it .
Step 7:
Use pop up dots or dimensional to adhere the circle to the scalloped circle and then to adhere the whole tag to the outside of the notepad and... YAHOO! You 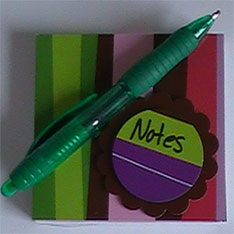 have just completed a very cute custom post it notepad gift for Mother's Day or birthdays or for just any reason!
Add a cute little pen and make it adorable! Once you create your Custom Post it Notepad, try some punch art to put on your projects!


New! Comments
Have your say about what you just read! Leave me a comment in the box below.