Christmas Angel Ornament
Easy Christmas Angel Ornament!
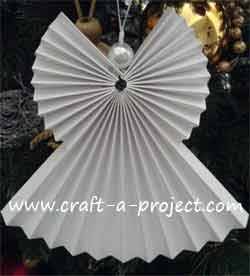
This Christmas Angel Ornament is a pretty easy Christmas Craft to make... once you understand how the pieces go together. I tried a number of times and none of them turned out the way I wanted.
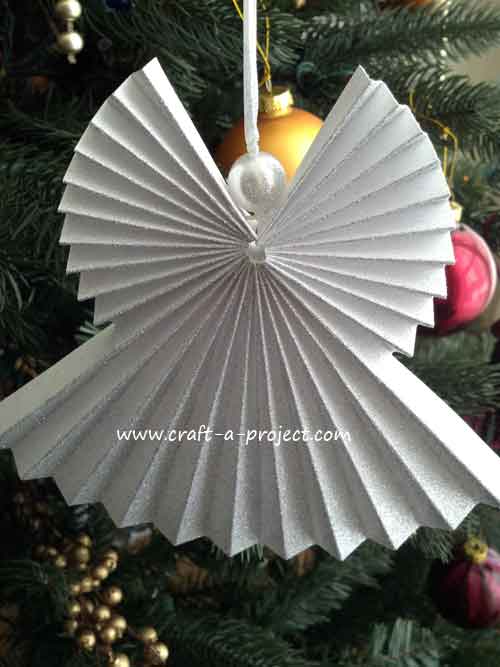
But- This Christmas Angel Ornament is just the way I saw it in my head. The idea of how to get it to go together just popped in my head after many failed attempts.
I just love the way it looks, and it hangs nicely on the Christmas tree. And, there are so many different things you could do with it. For example: You could hang it on your Christmas tree just they way it is in the photo. But-Imagine making Christmas Tree Ornaments in say different colors and using them as Christmas decorations around the house or office? Or how about putting some silver or gold spray pain on it? I think I will do those and I think I will do one with some glitter. If you try this Christmas Angel Ornament submit your photos and instructions.
How To Make the Christmas Angel Ornament
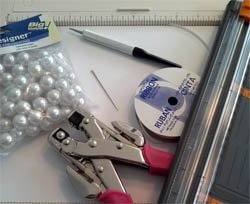
Supplies Needed:
Sheet of cardstock
Ribbon and Needle
Bead
Hole punch
Scoreboard
Step One: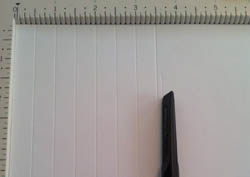
Lay cardstock on scoreboard in landscape mode or position and score at the 1/2 inch mark all the way across the paper.
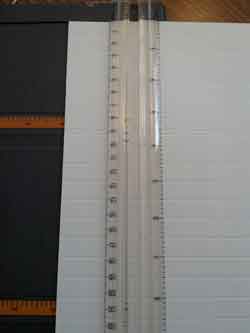
Step Two:
You will need to take your cardstock and cut tow inches off the landscape edge, or the longest edge twice for the wings of your Christmas Angel Ornament.
Step Three:
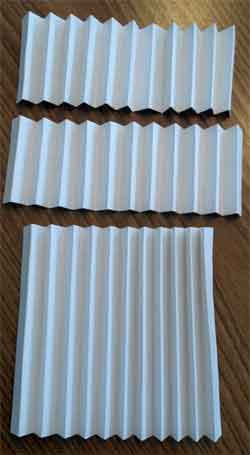
Take all three pieces and fold on the score lines. One of the biggest tips I can give you is right here on this part. Make sure when you start folding, you fold the first fold away from you and then continue on.
The reason for this is so that the last fold will also be folded away from you and you won't have any raw edges ont he fron of your Christmas Angel Ornament. If you look at the photo you will see that the ends are all the same.
Step Four:
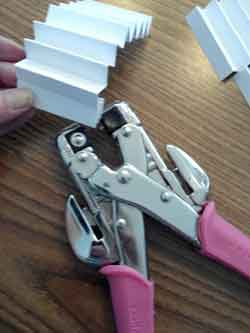
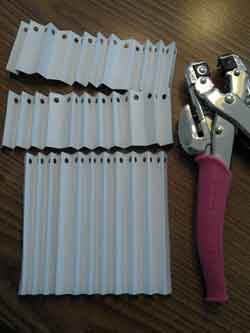
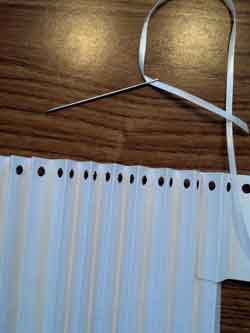
Take your hole punch and punch holes evenly on all three pieces that you scored and folded.
Step Five:
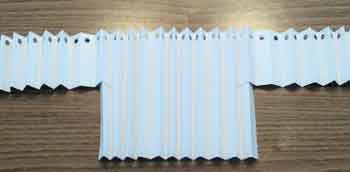
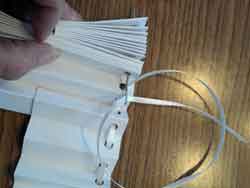
Take all three pieces of your Christmas Angel Ornament and over-lap them on the ends. This is where folding them in the direction I told you before will really help out. If you folded the ends away from you your pieces will fit together nicely.
Step Six:
Take your ribbon and lace it through the holes in the now overlapped three pieces of your Ornament. I used a needle to do this only because it was easier for me, but you don't need to use a needle if you can get your ribbon through without one. I did not cut a long piece of ribbon and then lace it through, I left my ribbon on the spool until I had it laced through.
Step Seven: 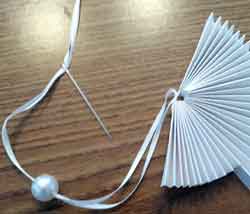
You will need to pull very tightly and tie the ribbon to secure the ornament in place. However, I found this to be a handful, but I was able to do it without help.
Then you can thread your ribbon through your bead and tie another know right above the bead.
Step Eight:
Tie the ends of the ribbon together so you can hang it and... YAHOO! You just created a Christmas Angel Ornament! This will make great Christmas Tree Ornaments.
Now, you can make them any color you want. I used white, but I did spraypaint one of mine with a sliver sparkle spay and it looks pretty good!
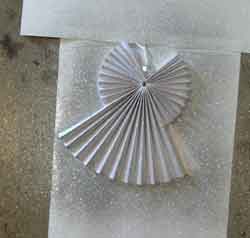
This is what it looked like when I took it out into the garage and sprayed it. I don't know if you can tell, but it's pretty sparkly!
Here is the photo of the glitter spray paint on the Christmas Angel Ornament!



New! Comments
Have your say about what you just read! Leave me a comment in the box below.